✦
Object ManipulationAdd-Remove
Enhance your site photos by seamlessly removing unwanted objects, saving time and improving presentation quality.
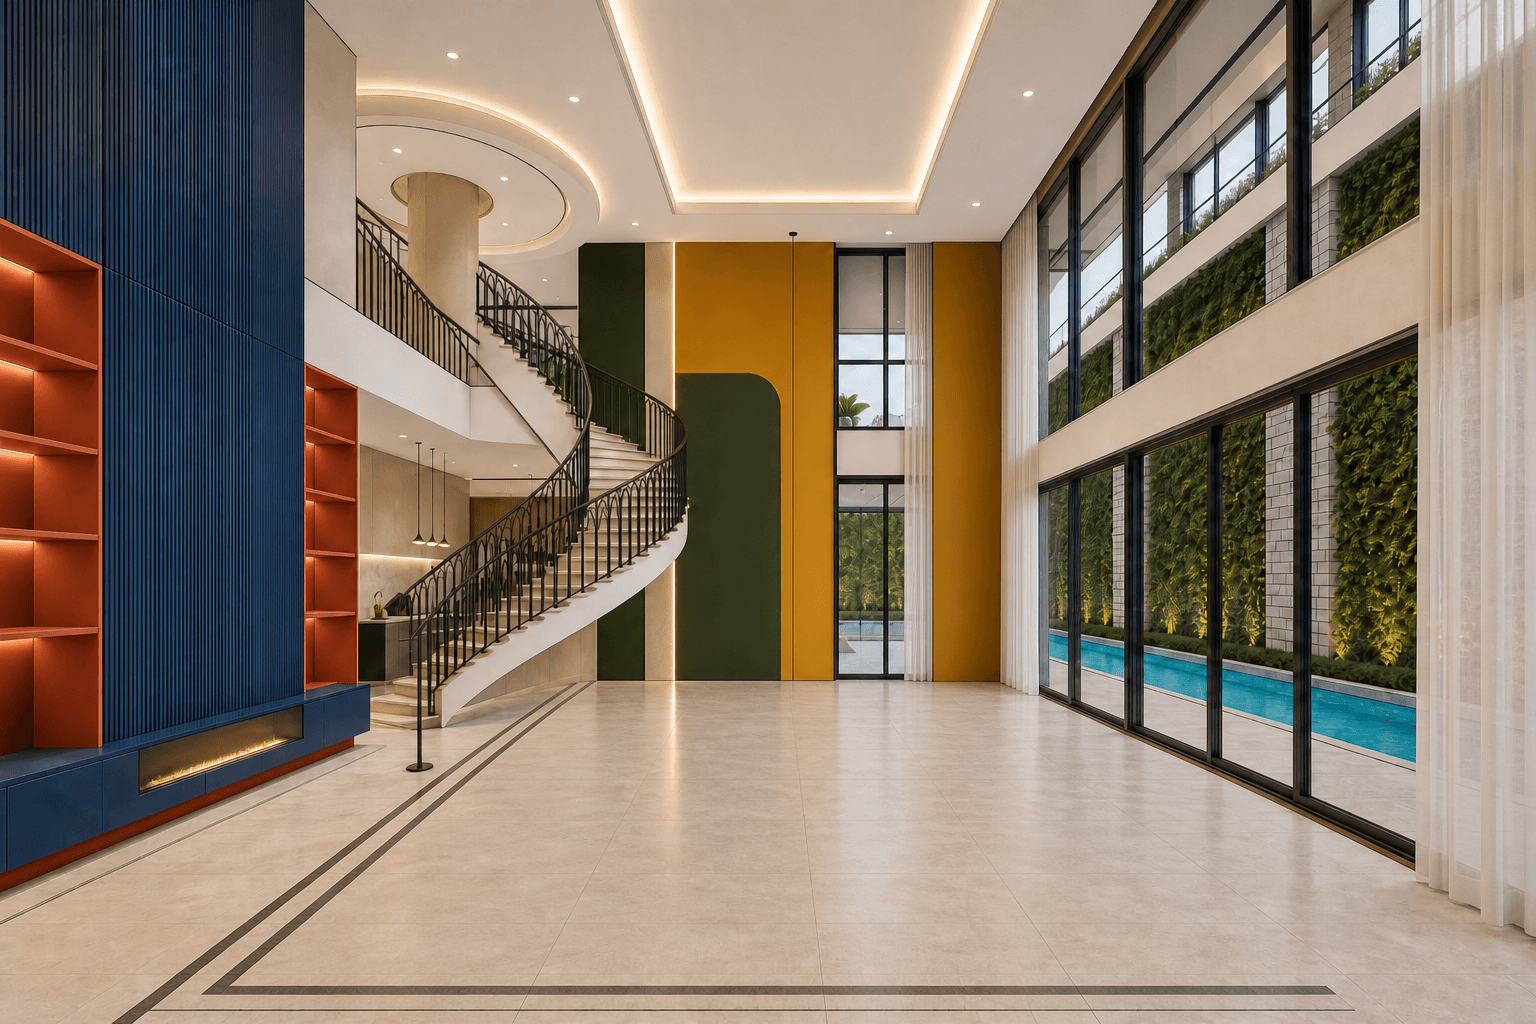
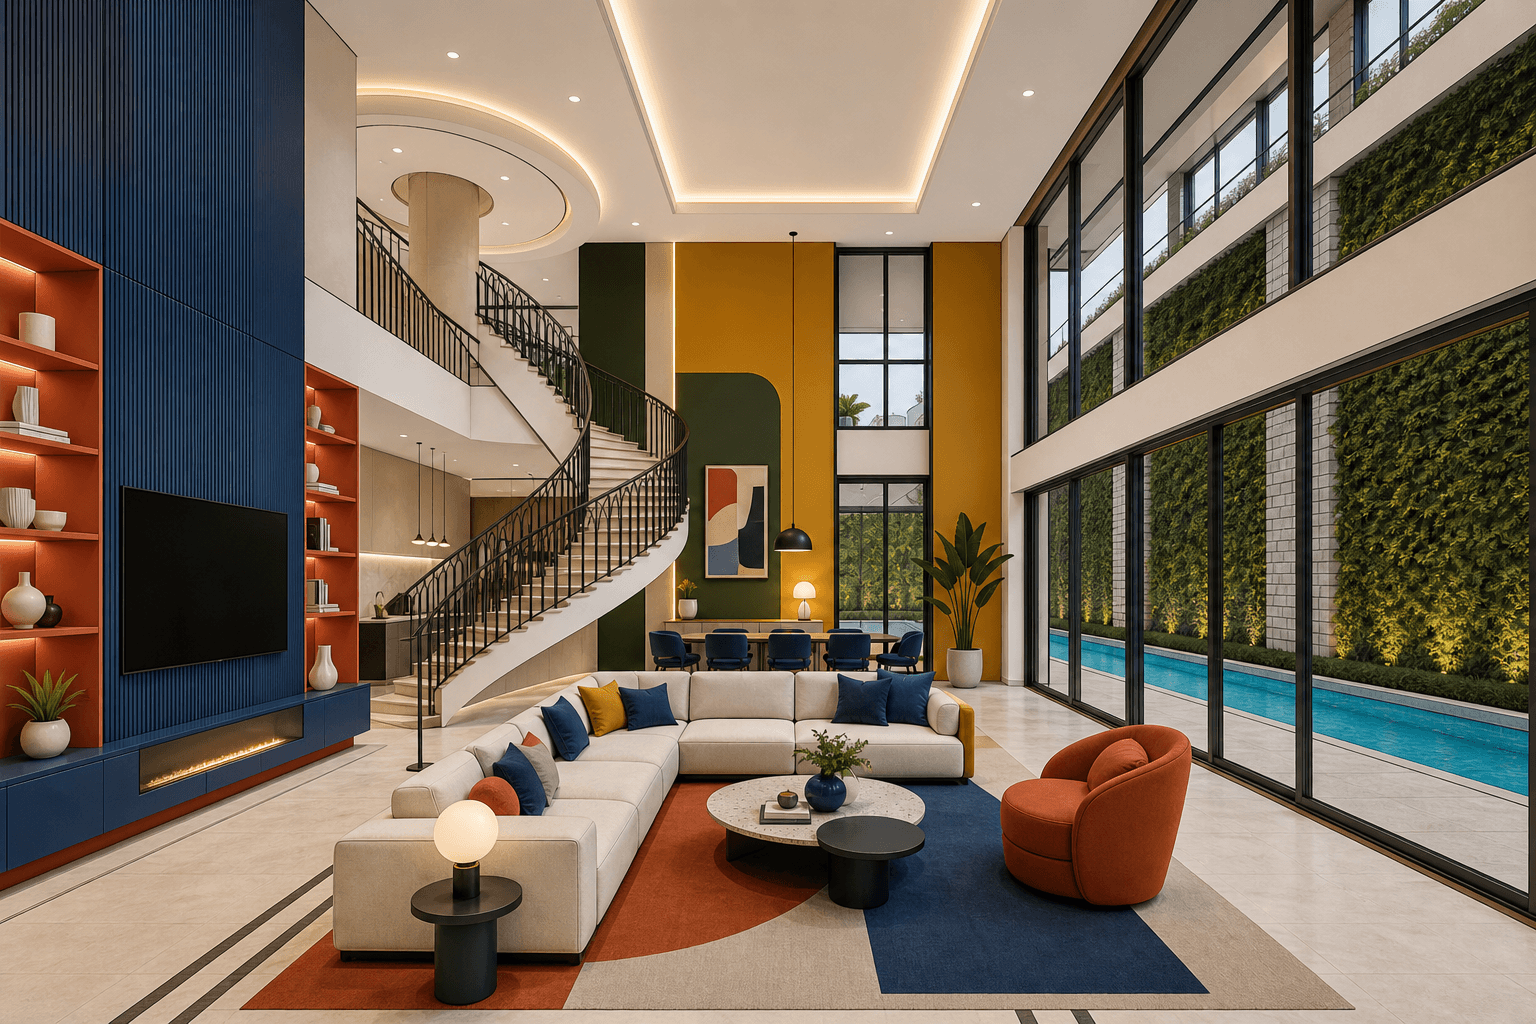
BeforeAfter
What it does
The 'Add-Remove' feature in Toscape AI allows architects and interior designers to enhance their site photos by removing unwanted objects. This tool is designed to streamline the visual presentation of your projects, ensuring that only the essential elements are highlighted, thus improving the overall quality and impact of your presentations.Who it is for
This feature is ideal for architects and interior designers who need to present clean, professional visuals to clients or stakeholders. Whether you're preparing images for a client presentation, a portfolio, or a design review, the 'Add-Remove' feature helps you focus on what truly matters in your design.How to use it
1. Open Toscape AI: Launch the Toscape AI desktop application on your Windows device. 2. Select an Image: Choose the site photo you wish to edit from your project library. 3. Activate Add-Remove: Navigate to the Object Manipulation category and select 'Add-Remove'. 4. Identify Unwanted Objects: Click on the objects you wish to remove from the image. 5. Confirm Removal: Review the changes and confirm to finalize the removal. Each use of this feature will deduct 2 credits from your account. 6. Save Your Work: Once satisfied with the edits, save the updated image to your project files.Workflow note
The 'Add-Remove' feature is integrated into the Toscape AI desktop application, ensuring that all image editing is performed locally on your device. This design prioritizes the privacy and security of your project files, as no images are uploaded or processed externally unless explicitly specified otherwise. Ensure you have sufficient credits in your Toscape account to utilize this feature effectively.Try Add-Remove on your own device
Run this workflow from the Windows app, then manage plans, releases, and support through Toscape's companion platform.